InspirationIceland
Northern lights in Iceland: when, where and how to photograph them
When it shows, where to look and how to photograph it: an honest guide to the northern lights in Iceland, with realistic expectations and practical advice.
In this article
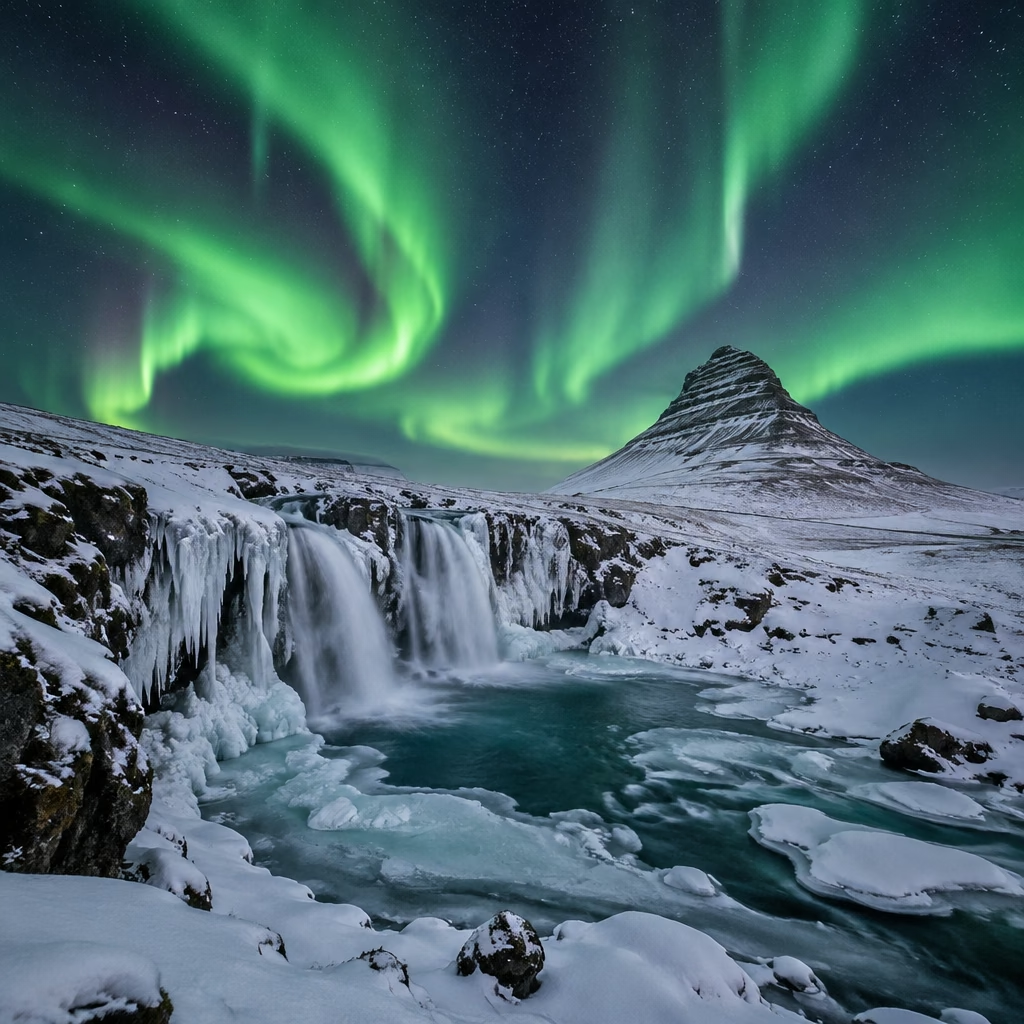
The northern lights are a spectacle you cannot book. They arise when particles from the solar wind meet the Earth's atmosphere, and they appear when they please: sometimes as a pale veil, sometimes as a green dance across the sky. Iceland, with its dark skies and wide open spaces, is one of the best places to try your luck, as long as you set out with honest expectations and a little patience.
When to go
The aurora is present in every season, but it can only be seen under a dark sky: in Iceland, roughly from late August or September to April. In June and July, with the bright nights of the midnight sun, it is practically impossible. Many enthusiasts consider the periods around the equinoxes, in September and March, particularly favourable, and prefer nights with little moon. Bear in mind that you also need a clear sky and a bit of luck: clouds hide the lights, and Icelandic weather changes fast.
- The more nights you have, the more chances you have of seeing it.
- Weather matters as much as solar activity: check the cloud-cover forecasts.
- Iceland's meteorological service publishes an aurora and cloud forecast: it is a useful official source.
Where to look
Look for darkness and a clear northern horizon: countryside, coast, lakes and lagoons, away from city lights. Classic settings are the plain of Þingvellir, the Jökulsárlón lagoon or Lake Mývatn, but the sky and the calm matter more than the exact spot. Once outside, give your eyes ten to fifteen minutes to adjust to the dark.
How to photograph it
- A stable tripod is essential: exposures are long. With a smartphone, use night mode, resting it on a support.
- A bright wide-angle lens and manual focus on a distant point.
- As a starting point, ISO 1600–3200, the aperture wide open and exposures of 5–15 seconds, adjusting as you check the preview.
- A two-second timer or a remote release, to avoid vibration.
- Spare batteries kept warm: the cold drains them faster.
- A foreground element (a small church, a tree, a waterfall) gives the picture scale and character.
- Look with your own eyes too: to the naked eye the aurora is often paler and greyer-green than the camera shows.
What to expect
You may not see it: it happens, and it does not mean the trip has failed. You often wait a long time in the cold while the aurora appears, fades and returns. Dress in layers, with a padded jacket, windproof trousers, a hat, woollen socks and thin gloves under thick ones so you can handle the camera. A flask of something hot and a head torch with a red light, which respects your night vision, make the wait more pleasant.
Our trip “Iceland: Around the Island on the Ring Road” lasts 8 days, in a small group with a Greek coordinator, and runs from June to September: it is designed for waterfalls, glacier lagoons and fjords, not for the aurora, because in June and July the night never gets truly dark. On the last departures in September, when the darkness returns, a few nights may offer a chance, with no guarantee at all. Before you leave, check the official sources for entry documents and health guidance.